ThermionViewer (Flutter)
If you just want to display a 3D object with basic camera controls, use the ViewerWidget described in the Quickstart.
When you need finer-grained control — loading assets, positioning the camera, adding
lights, driving animation — work with the ThermionViewer API directly.
The full project for this walkthrough lives in
examples/flutter/viewer.
1. Declare your assets
Section titled “1. Declare your assets”Add a folder containing your assets (a glTF model plus a skybox/IBL ktx) to your
pubspec.yaml:
flutter: assets: - assets/2. Create a viewer
Section titled “2. Create a viewer”ThermionFlutterPlugin.createViewer() returns a ThermionViewer. Create one in
initState and store it in state:
import 'package:flutter/material.dart';import 'package:thermion_flutter/thermion_flutter.dart';
class _MyAppState extends State<MyApp> {  ThermionViewer? _viewer;
  @override  void initState() {    super.initState();    ThermionFlutterPlugin.createViewer().then((viewer) {      setState(() => _viewer = viewer);    });  }}
3. Render it with ThermionWidget
Section titled “3. Render it with ThermionWidget”ThermionWidget takes the viewer you just created and renders it into the Flutter
tree:
@overrideWidget build(BuildContext context) { return Stack( children: [ if (_viewer != null) Positioned.fill(child: ThermionWidget(viewer: _viewer!)), ], );}4. Load the scene
Section titled “4. Load the scene”Load image-based lighting, a skybox, and your glTF model:
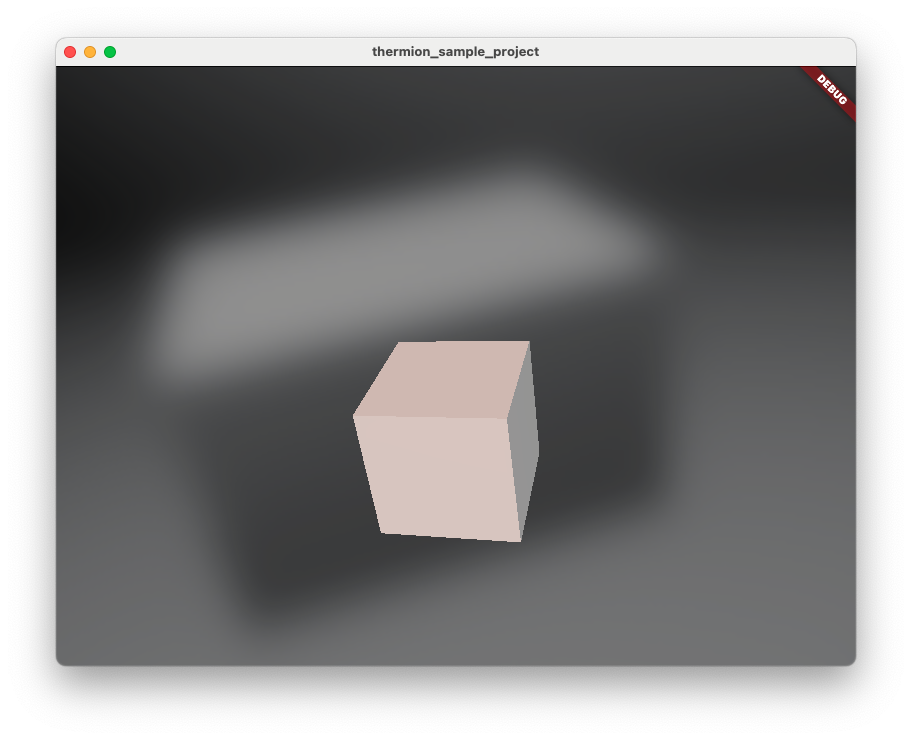
final viewer = _viewer!;await viewer.loadIbl('assets/default_env_ibl.ktx');await viewer.loadSkybox('assets/default_env_skybox.ktx');final asset = await viewer.loadGltf('assets/cube.glb');A skybox is the background image rendered behind everything else in the scene.
Image-based lighting (IBL) uses an image to determine the direction and intensity
of ambient light. Anything added to the scene — models, lights, cameras — is an
entity, and entities are placed at position (0, 0, 0).
The default camera sits at the origin looking down -Z, so a model placed at the
origin starts inside the camera. Move the camera back to see it.
5. Position the camera
Section titled “5. Position the camera”There is no setCameraPosition on the viewer. Get the active camera and aim it with
lookAt:
import 'package:vector_math/vector_math_64.dart' as v;
final camera = await viewer.getActiveCamera();await camera.lookAt(v.Vector3(0, 1, 10));
lookAt takes the camera’s position and, optionally, a focus point and up vector —
it defaults to looking at the origin with +Y up.
6. Add a light
Section titled “6. Add a light”Add a sun (directional) light so the model is shaded. Lights are added with
addDirectLight and a DirectLight:
await viewer.addDirectLight( DirectLight.sun(direction: v.Vector3(0, -1, -1)),);7. Run it
Section titled “7. Run it”flutter run -d macos